
As this is one of the most common types of damage caused to car bodywork, many people want to know how to repair a bumper scuff, so they can see if it’s something they can do themselves, or if they need an expert to do it.
The video below runs through a brief 13 step bumper scuff repair process. However, see further down were go into more detail on each of the steps needed, with an image to illustrate, and a description of what’s happening at each stage of the repair…
13 Steps To Repair A Bumper Scuff
Detailed Description Of How To Repair A Bumper Scuff
Step 1: Clean The Scuffed Bumper Panel
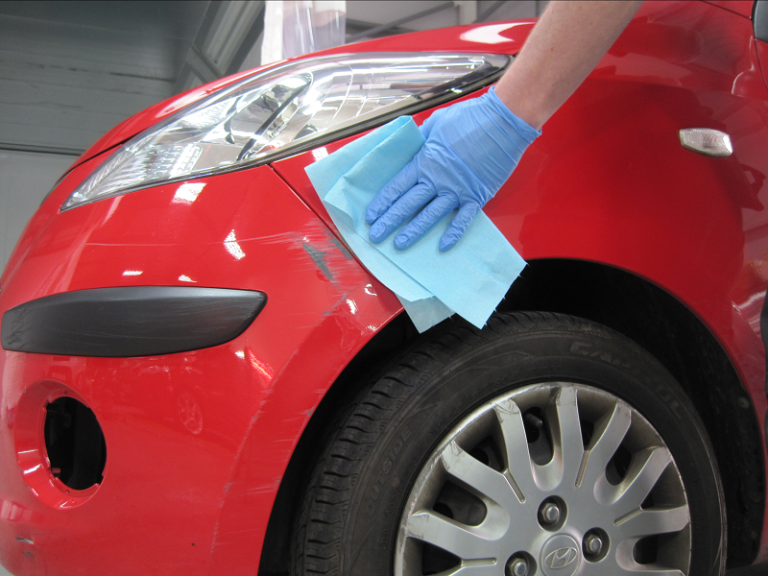
Before you start any bumper scuff repair work, you must ensure the panel and surrounding area is clean, de-greased and free from contamination.
Ideally use a specific cleaning fluid, but at least use hot soapy water (without waxes in it) to ensure there is the least risk of any substances that on the surface of the panel which will spoil the bumper scuff you are repairing.
Step 2: Sand & Clean The Scuffed Area
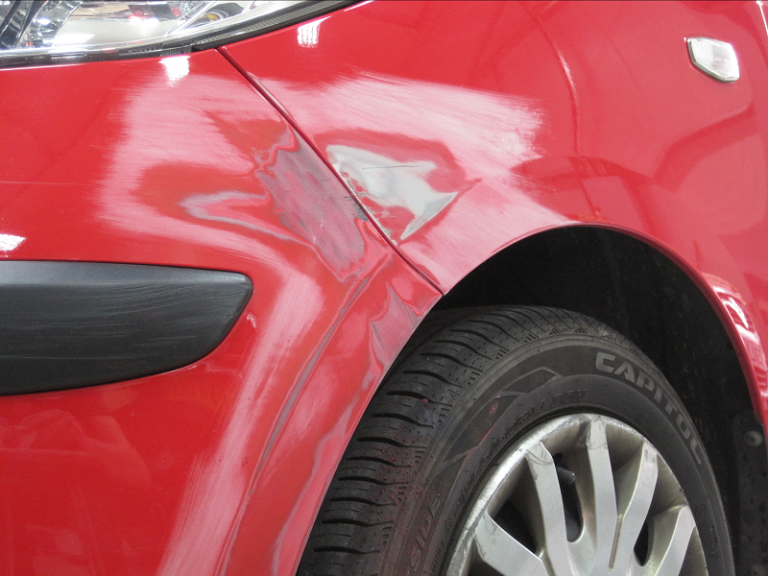
In this step of repairing a bumper scuff, you need to sand the area that has been damaged, removing the lacquer, paint and primer where appropriate until the damage is removed
Depending on how deep the scuff is, this also provides a key for any body filler that may be required to build up the panel back to its original shape and contours.
Step 3: Fill & Dry The Damaged Area
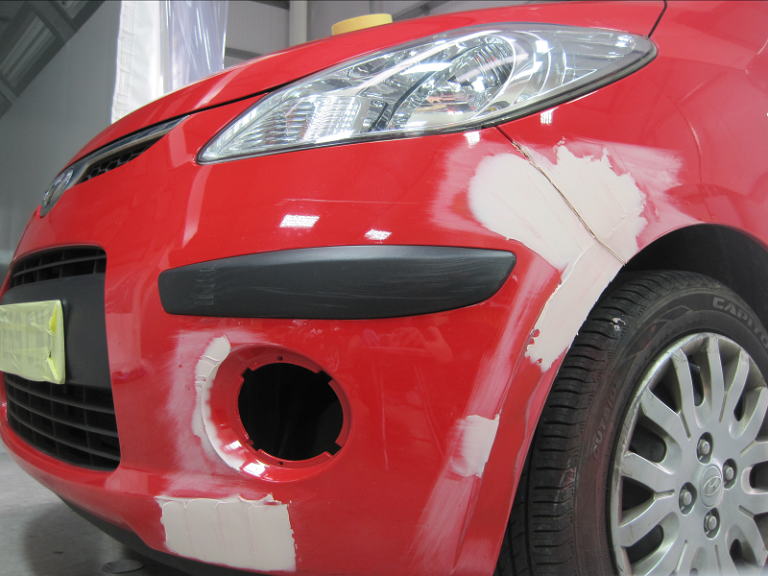
This step doesn’t always need to be done & will depend on the severity of the scuff on the bumper.
Some scuffs may have penetrated just the lacquer & paint & can just be sanded out of the plastic bumper, but some deeper scratches will need plastic body filler.
When the filler has been applied & is thoroughly dry, it should be left a while to fully harden before the next process.
Step 4: Sand & Shape The Filler
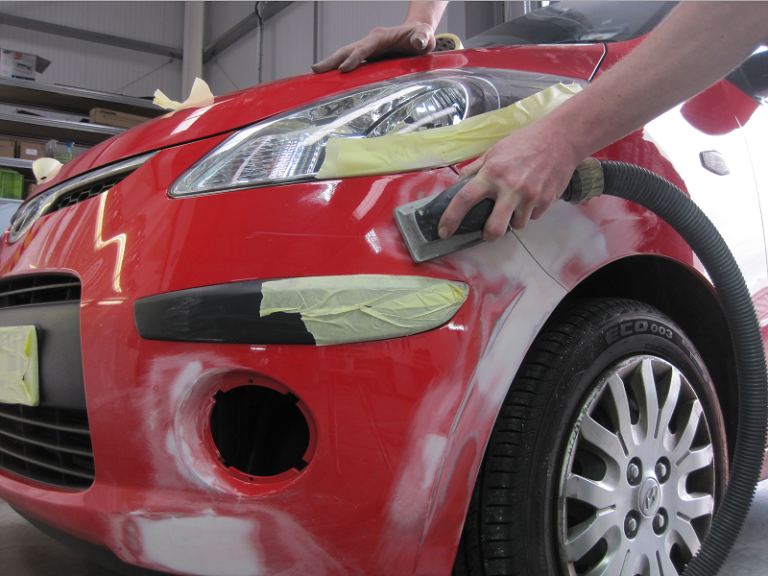
Where filler has been applied to the damaged area during the Shrewbury car body repairs procedure, after it has been thoroughly dried, it is then guide coated and sanded back to form the original shape of the panel.
This step may need to be repeated depending on how badly the panel was damaged. Once the shape is acheived, the sanding scratches are refined, ready for the next step in the body repair process.
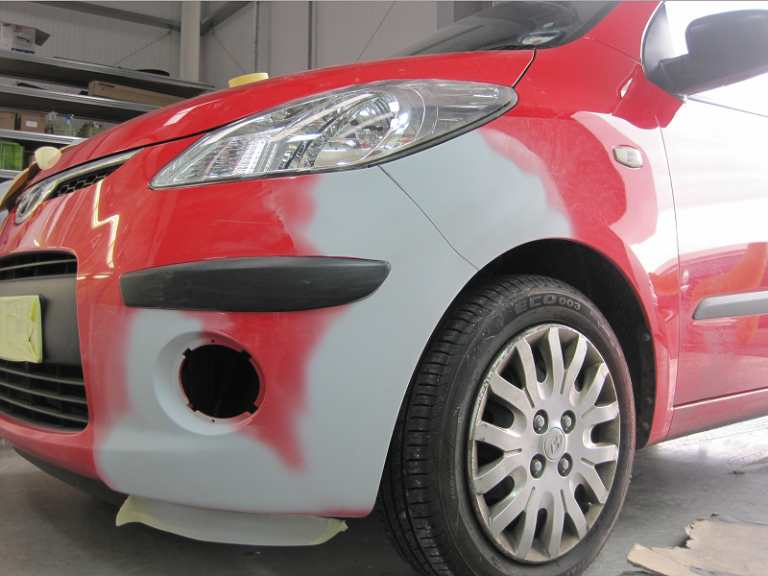
Step 5: Prime & Dry The Damaged Area
Key the sanded and damaged area ready for priming, which will give the paint a good bond.
Usually around 3 coats of primer are sprayed, with drying time allowed between each coat.
After the final coat, it must be left for a sufficient time to be thoroughly dry, ready for the next step.
Step 6: Sand Primer & Key Panels
The dried primer is sanded to a smooth finish with the appropriate sandpaper, and the surrounding panels are keyed during this stage of the bumper scuff repair process
Panels must be keyed (or scotched) so they are dull in appearance, to ensure the paint & lacquer bond to the panel during the next step
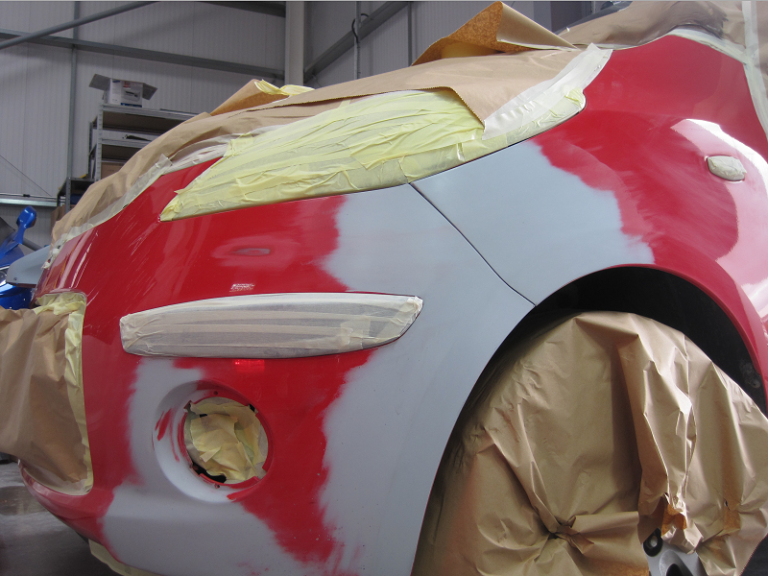
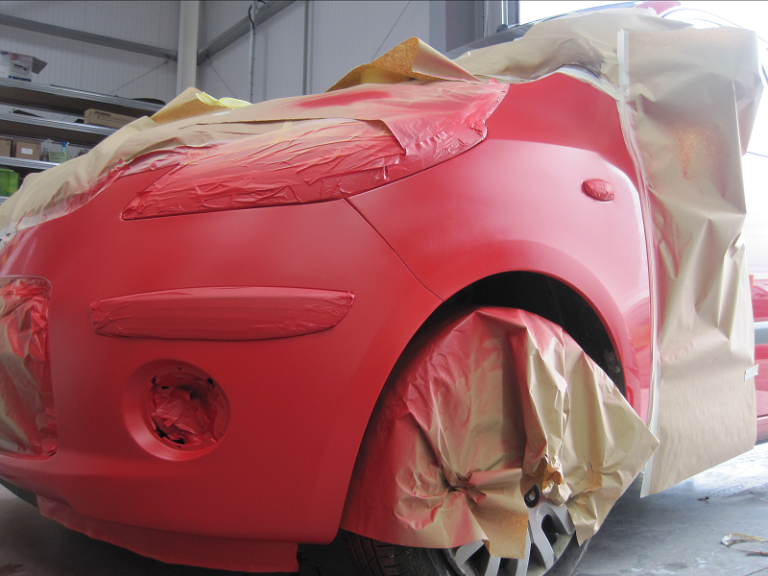
Step 7: Clean & Mask The Panels
This step of the bumper scuff repair process involves thoroughly cleaning the panels to be painted & lacquered, and masking off the adjacent panels you don’t need painting or overspray to land on.
Cleaning ensures there are not contaminants which could affect the bond of the paint & lacquer to the bumper as well as affecting the finish.

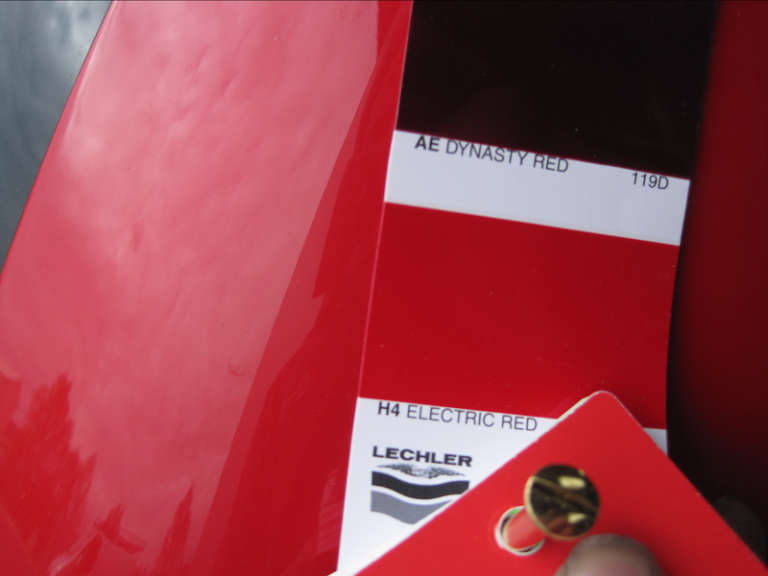
Step 8: Find The Paint Code & Match Colour
Find the paint code for the vehicle (try a search online to see where it is on your vehicle), or you could call your local main dealer for your vehicle brand & ask for the code.
A professional repairer would then identify the paint name and colour chip (sample) from their mixing paint scheme, however, a DIY’er will have to rely on getting the correct code.
If you are able to get a colour chip, then compare it to the vehicle & bumper to check the colour match is correct
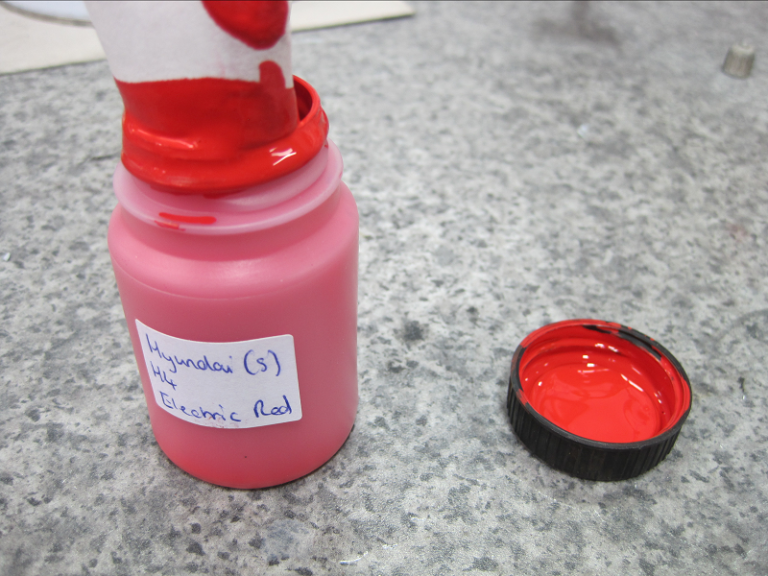
Step 9: Mix/Buy Paint & Get Ready To Spray
When the correct colour & shade is found, with a professional paint mixing scheme, the individual colours are weighed out according to the ‘recipe’ to create the final colour.
If a paint gun is being used, the paint will then be filtered into the spray gun ready for the next stage.
With a DIY repair, this is usually replaced by purchasing a can(s) of spray paint. It is worth noting that there are different qualities of spray paints & it is usually worth investing in a quality item with a decent nozzle for better/more even application
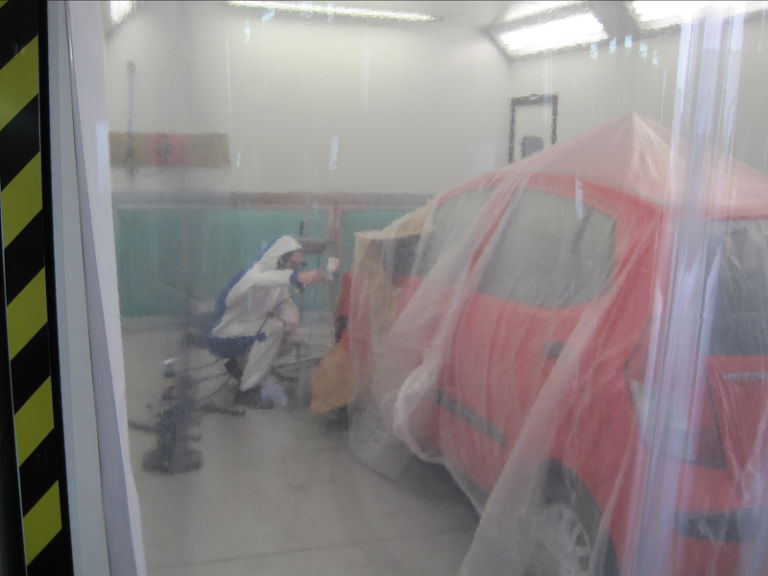
Step 10: Paint & Blend The Damaged Bumper
Using the spray gun or spray can, paint the primed bumper scuff repair area in several medium layers of the paint, with appropriate drying times between each coat.
When full coverage of the primer is achieved (ie you can’t see it), blend the colour into the adjoining area of the bumper to match in the repaired bumper scuff to the surrounding ‘good’ panel area.
Step 11: Lacquer & Dry The Bumper Scuff Repair
The next repair process is to apply several coats of lacquer (depends on which type is being used) over the entire repair area just painted & blended, to give a high shine and a durable finish, The edges of the lacquer should be sprayed with fade-out laquer if the whole bumper has not been lacquered.
As detailed above in the ‘Materials Needed To Repair A Bumper Scuff‘ section, there is a significant difference in application, finish & durability between the lacquers used in professional repair shops & from spray cans found in motoring accessory shops.
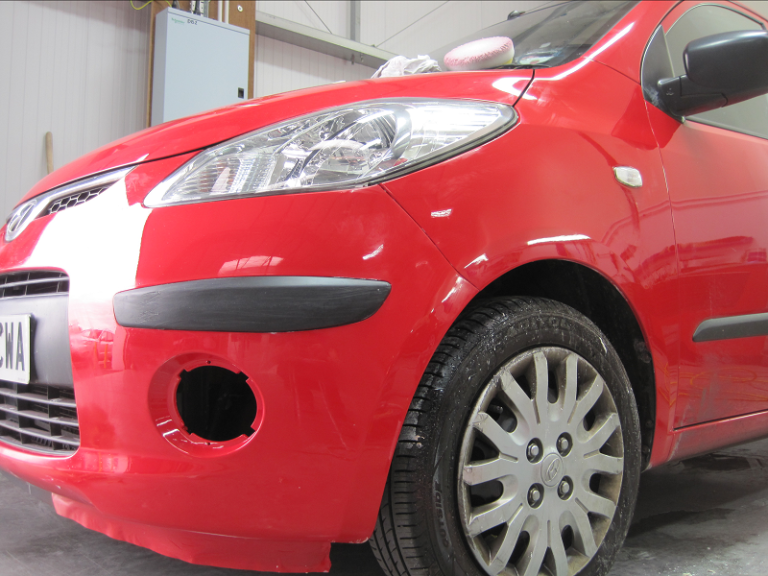
Step 12: Sand, Buff & Glaze The Lacquer
Once the lacquer is hard enough, it can be colour sanded with ultra fine wet-n-dry to remove any imperfections and/or ‘orange peel’
Then the area can be buffed with a machine polisher or by hand using the appropriate grades of cutting & polishing compound.
Then glaze to give a high shine & protect the finish whilst enabling the lacquer to ‘breath’ and fully cure.
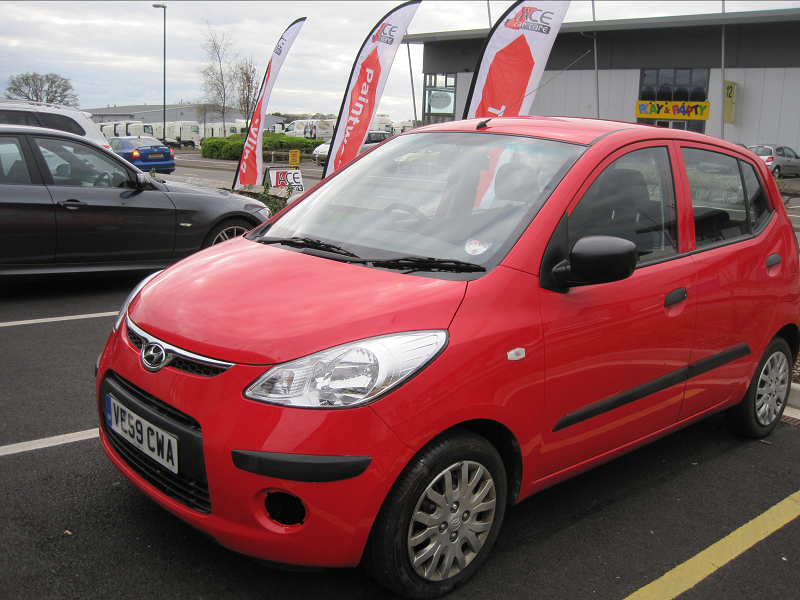
Step 13: Wash The Vehicle
The last stage of the bumper scuff repair process is very simple as it is to just remove all the masking & hand wash the vehicle.
This will remove any dust or polish left on the panel from all of the previous steps.
When you choose us, you can be sure that you’ll be getting great value for money. Our customers tell us that our quotes are up to 50{a4b057360d46a86a3b738b627ca4a297b22e733c795d58ff3a084394847c683e} lower than comparable main dealer and body shop prices. You can call in for a written quote without appointment, and all quotes are free and without obligation too.
Only high quality products and equipment are used to repair your vehicle, meaning that your repair is guaranteed. You can also select different levels of warranty depending upon your requirements and budget. All repairs are undertaken by fully trained & experienced staff ensuring great results.
You’ll always be treated like a customer should be, with our award winning service which we think is second to none. We pride ourselves on the way that we deal with customers, and we get great feedback from our reviews. You can ALWAYS rely on honesty and reliability from Ace Car Care
Ace Car Body Repairs are a sub-brand of Ace Car Care in Shrewsbury, Shropshire. We specialise in all types of cosmetic and accident repair damage.
Mon: 8:00am - 5:30pm
Tue: 8:00am - 5:30pm
Wed: 8:00am - 5:30pm
Thu: 8:00am - 5:30pm
Fri: 8:00am - 5:30pm
Sat: 8:30am - 12:30pm
Sun: Closed
Ace Remaps, Ace Styling, Ace Car Care and Ace Car Body Repair are trading names of JJM Body Repair Ltd